Texas de Brazil – Brazilian Cheesecake Recipe
Ingredients
Equipment
Method
- Step 1 — Preheat and prep the panPreheat your oven to 350°F (175°C) and lightly grease the bottom of a 9-inch springform pan, then line it with a round of parchment paper. This small step guarantees your cheesecake releases cleanly later—no wrestling with stuck crusts. Having your oven fully preheated ensures the crust sets properly without becoming greasy or soggy.
- Step 2 — Mix and press the crustIn a medium bowl, combine graham cracker crumbs, melted butter, and sugar, stirring until the mixture resembles wet sand and holds together when pinched. Press the crumbs firmly and evenly into the bottom of your prepared pan, using the bottom of a glass to compact it tightly. A well-packed crust won't crumble when sliced, so take an extra minute to press firmly around the edges and center.
- Step 3 — Bake and cool the crustBake the crust for exactly 10 minutes until fragrant and lightly golden at the edges, then remove it to a wire rack to cool completely before adding the filling. A warm crust can cause the filling to melt unevenly or create a gummy layer between crust and cheesecake. While it cools, start preparing your filling so timing stays seamless.
- Step 4 — Beat the cream cheese until perfectly smoothIn a large bowl, beat the softened cream cheese with an electric mixer on medium speed for 2–3 minutes until completely smooth, creamy, and free of lumps. Scrape down the sides of the bowl halfway through to ensure even mixing—any remaining lumps will show up in your finished cheesecake. This step is non-negotiable: smooth cream cheese equals a professional, velvety texture.
- Step 5 — Incorporate condensed milk and sour creamWith the mixer on low, gradually pour in the sweetened condensed milk, beating just until combined, then add the sour cream and mix gently until the batter is uniform. Overmixing at this stage can incorporate too much air, which expands during baking and leads to cracks. Keep the mixer speed low and steady for a dense, creamy result.
- Step 6 — Add eggs, lemon, and vanilla with care. Add the eggs one at a time, mixing on low speed just until each disappears into the batter before adding the next, then stir in the lemon juice and vanilla extract. Stop mixing as soon as the last ingredient is incorporated—overbeating eggs introduces air bubbles that rise and collapse, creating surface cracks. The batter should look glossy, smooth, and slightly thick, like a rich custard.
- Step 7 — Pour filling and smooth the top. Pour the cheesecake batter over the cooled crust, using a spatula to spread it evenly and gently tap the pan on the counter 2–3 times to release trapped air bubbles. This simple tap prevents small holes or tunnels in your finished slice. If you notice any crust crumbs floating on top, gently push them to the edge for a clean presentation.
- Step 8 — Bake until set but still slightly wobbly. Place the cheesecake in the center rack of your 350°F oven and bake for 50–60 minutes, rotating the pan halfway through for even browning. The cheesecake is done when the edges are lightly golden and puffed, but the center still jiggles slightly like Jell-O when gently shaken—this residual heat will finish cooking it as it cools. If the top browns too quickly, loosely tent with foil for the last 15 minutes.
- Step 9 — Cool slowly to prevent cracking. Turn off the oven, crack the door open slightly with a wooden spoon, and let the cheesecake rest inside for 1 full hour before removing it to a wire rack. This gradual temperature change prevents thermal shock, which is the #1 cause of surface cracks. After the hour, run a thin knife around the edge to loosen it from the pan (this also helps prevent cracking as it contracts).
- Step 10 — Chill thoroughly for perfect slices. Once the cheesecake reaches room temperature, cover it loosely with plastic wrap and refrigerate for at least 4 hours, though overnight chilling yields the cleanest slices and deepest flavor. Cold cheesecake firms up the structure, making it easier to cut neat portions without crumbling. Patience here transforms a good dessert into a restaurant-quality experience.
- Step 11 — Add toppings and serve chilled. Just before serving, top with fresh fruit and a few mint leaves for color and brightness, then release the springform ring and slice with a warm, damp knife for clean edges. Dip your knife in hot water and wipe dry between cuts to keep each slice pristine. Serve chilled for the best texture and flavor balance—this cheesecake shines when cold and creamy.
Video
Notes
NUTRITION
Calories: 510 kcal (per 1 serving)
Nutrition Facts Table (Per Serving)
| Nutrient | Amount |
|---|---|
| Calories | 510 kcal |
| Protein | 12 g |
| Total Fat | 38 g |
| Saturated Fat | 22 g |
| Trans Fat | 0.5 g |
| Cholesterol | 140 mg |
| Sodium | 280 mg |
| Total Carbohydrates | 38 g |
| Dietary Fiber | 1 g |
| Total Sugars | 32 g |
| Added Sugars | 28 g |
| Vitamin D | 0.4 mcg |
| Calcium | 180 mg |
| Iron | 1 mg |
| Potassium | 220 mg |
Values are approximate and will vary by ingredients used and portion size.
What Is Brazilian Cheesecake?
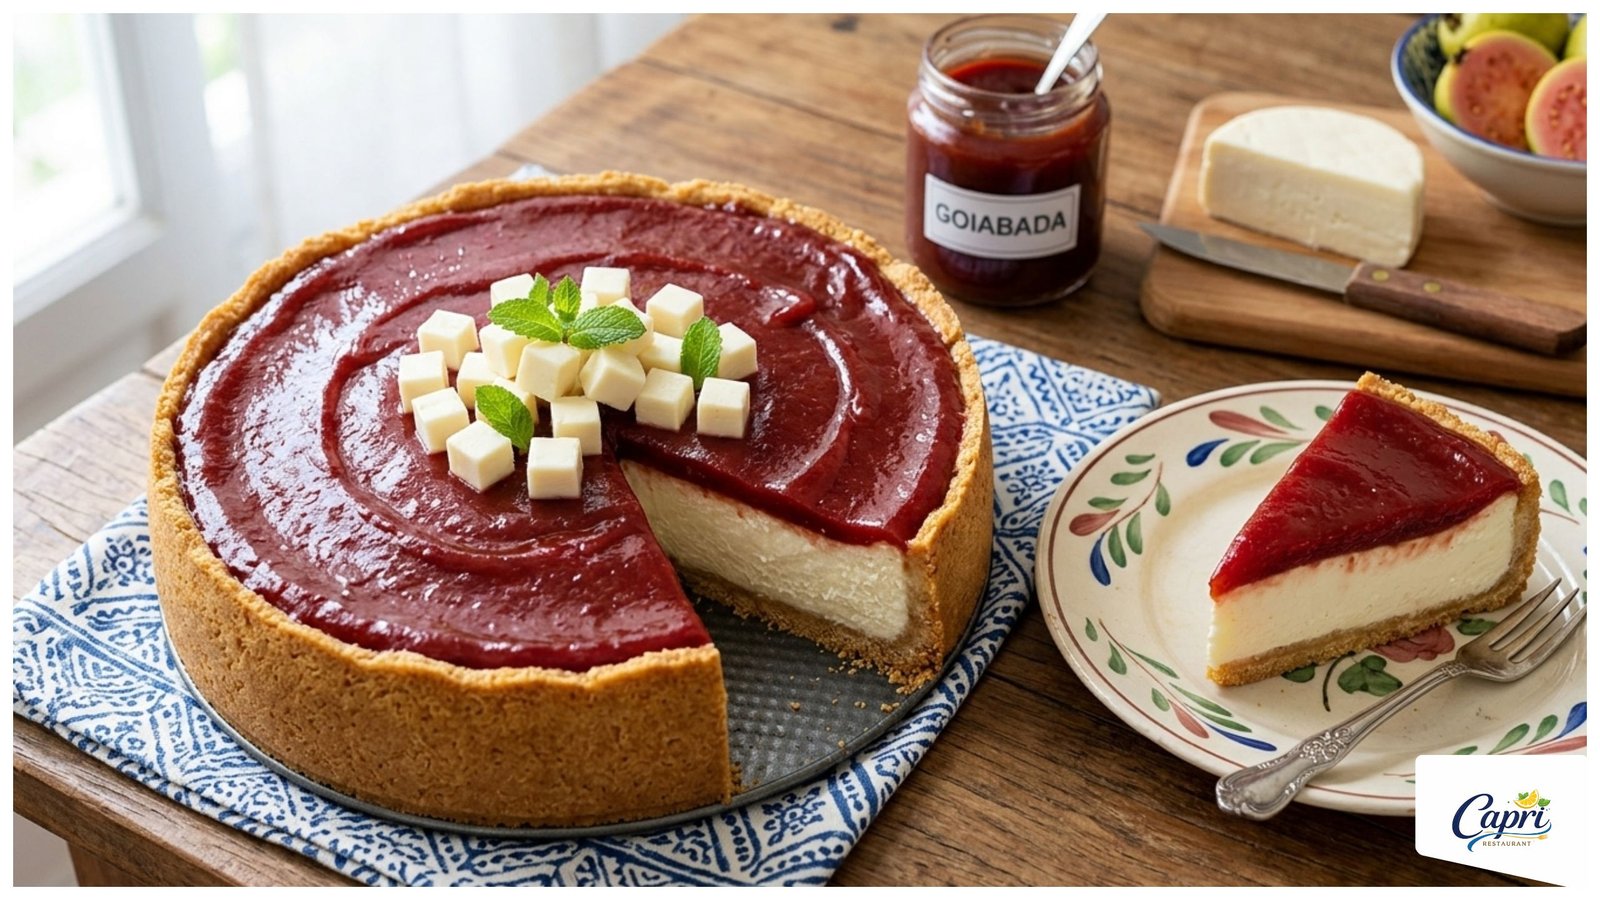
Brazilian cheesecake is a beloved dessert that blends European cheesecake techniques with South American ingredients and flavor sensibilities. Unlike the dense, heavy New York-style cheesecake, Brazilian versions are typically lighter, creamier, and subtly sweetened with sweetened condensed milk—a pantry staple across Latin America. The texture is silkier, almost mousse-like, with a delicate balance of tang from sour cream or cream cheese and brightness from citrus. Often served with fresh tropical fruits like mango, passion fruit, or berries, it’s a dessert designed to refresh as it indulges.
A Brief History: From Europe to Brazil
Cheesecake traces its roots to ancient Greece, but the version we know today traveled through Europe before landing in Brazil with Portuguese and Italian immigrants in the 19th and 20th centuries. Brazilian bakers adapted the recipe using locally available ingredients: sweetened condensed milk (invented in the 1800s and widely adopted in Latin America) replaced traditional sugar syrups, while lime and lemon juice added a bright counterpoint to the richness. The result? A cheesecake that feels familiar yet distinctly tropical—creamy but not heavy, sweet but never cloying. Today, it’s a staple at Brazilian steakhouses (like Texas de Brazil), family gatherings, and celebratory meals.
Why You’ll Love This Recipe
✅ No water bath required – Simplifies baking without sacrificing texture
✅ Naturally smooth – Sweetened condensed milk prevents graininess
✅ Make-ahead friendly – Tastes even better after chilling overnight
✅ Versatile topping canvas – Pair with any seasonal fruit or sauce
✅ Restaurant-quality at home – Impress guests with minimal effort
Health & Nutrition Considerations
While Brazilian cheesecake is an indulgent treat, a few mindful choices can help balance enjoyment with wellness:
🔹 Portion control: One slice (1/10 of the cake) provides satisfying richness without overdoing calories.
🔹 Fruit toppings add nutrients: Fresh berries or mango contribute vitamin C, fiber, and antioxidants.
🔹 Protein boost: Cream cheese and eggs provide ~12g protein per serving, helping with satiety.
🔹 Calcium source: Dairy ingredients contribute to daily calcium needs for bone health.
🔹 Mind the sugar: With ~32g sugar per slice, enjoy as an occasional dessert rather than a daily treat.
Tip: For a lighter version, try a crust made from crushed gluten-free cookies or nuts, and top with unsweetened fruit compote instead of sugary sauces.
Frequently Asked Questions (FAQs)
A: No! The combination of sour cream, condensed milk, and gentle baking creates a naturally creamy texture without the hassle of a water bath. Just bake on the center rack and cool slowly to prevent cracks.
A: We don’t recommend it. Full-fat dairy is essential for the authentic silky texture. Low-fat versions contain more water and stabilizers, which can lead to a grainy or weepy cheesecake.
A: Use a sharp knife dipped in hot water, wipe dry, and cut with a gentle sawing motion. Clean and re-warm the knife between each slice for pristine presentation.
A: Absolutely. Swap regular graham crackers for certified gluten-free graham crackers or use a crust made from crushed gluten-free cookies or almond flour (adjust butter slightly for binding).
A: Common causes include overmixing (adds too much air), overbaking (dries out the center), or cooling too quickly (thermal shock). Follow the jiggle test, cool slowly in the turned-off oven, and avoid opening the oven door early.
A: Yes! Freeze individual slices wrapped tightly in plastic + foil for up to 1 month. Thaw overnight in the fridge. Add fresh fruit toppings after thawing for best texture and appearance.
A: Brazilian cheesecake uses sweetened condensed milk for natural sweetness and silkiness, often includes citrus for brightness, and has a lighter, creamier texture. Traditional American cheesecakes rely more on granulated sugar and heavy cream, resulting in a denser, richer bite.
A: Definitely! Fold in ½ cup melted chocolate for a marble effect, or add 1 tbsp instant espresso powder for a mocha twist. Just keep additions under 1 cup total to maintain the batter’s structure.
Tips for Perfect Brazilian Cheesecake Every Time
✨ Prep ahead: Bring all dairy and eggs to room temperature 1–2 hours before starting.
✨ Don’t overmix: Beat just until ingredients are combined—overmixing = air bubbles = cracks.
✨ Trust the jiggle: The center should wobble slightly when done; residual heat finishes the cooking.
✨ Cool slowly: The 1-hour oven cool-down is critical for preventing surface cracks.
✨ Chill thoroughly: Minimum 4 hours, but overnight yields the cleanest slices and best flavor.
Final Thoughts
This Texas de Brazil-inspired Brazilian cheesecake brings the warmth and flavor of South American hospitality right to your kitchen. With its effortlessly smooth texture, balanced sweetness, and elegant simplicity, it’s a dessert that feels special without being complicated. Whether you’re hosting a dinner party, celebrating a milestone, or simply treating yourself to something beautiful, this cheesecake delivers joy in every bite. Make it once, and you’ll understand why it’s a beloved classic from Brazil to your table.