Ingredients
Equipment
Method
Prepare and Bake the Crust
- Step 1 — Preheat and prep the panPreheat your oven to 350°F (175°C) and lightly grease the bottom of a 9-inch springform pan, then line it with a round of parchment paper. This small step guarantees your cheesecake releases cleanly later—no wrestling with stuck crusts. Having your oven fully preheated ensures the crust sets properly without becoming greasy or soggy.
- Step 2 — Mix and press the crustIn a medium bowl, combine graham cracker crumbs, melted butter, and sugar, stirring until the mixture resembles wet sand and holds together when pinched. Press the crumbs firmly and evenly into the bottom of your prepared pan, using the bottom of a glass to compact it tightly. A well-packed crust won't crumble when sliced, so take an extra minute to press firmly around the edges and center.
- Step 3 — Bake and cool the crustBake the crust for exactly 10 minutes until fragrant and lightly golden at the edges, then remove it to a wire rack to cool completely before adding the filling. A warm crust can cause the filling to melt unevenly or create a gummy layer between crust and cheesecake. While it cools, start preparing your filling so timing stays seamless.
Create the Silky Filling
- Step 4 — Beat the cream cheese until perfectly smoothIn a large bowl, beat the softened cream cheese with an electric mixer on medium speed for 2–3 minutes until completely smooth, creamy, and free of lumps. Scrape down the sides of the bowl halfway through to ensure even mixing—any remaining lumps will show up in your finished cheesecake. This step is non-negotiable: smooth cream cheese equals a professional, velvety texture.
- Step 5 — Incorporate condensed milk and sour creamWith the mixer on low, gradually pour in the sweetened condensed milk, beating just until combined, then add the sour cream and mix gently until the batter is uniform. Overmixing at this stage can incorporate too much air, which expands during baking and leads to cracks. Keep the mixer speed low and steady for a dense, creamy result.
- Step 6 — Add eggs, lemon, and vanilla with care. Add the eggs one at a time, mixing on low speed just until each disappears into the batter before adding the next, then stir in the lemon juice and vanilla extract. Stop mixing as soon as the last ingredient is incorporated—overbeating eggs introduces air bubbles that rise and collapse, creating surface cracks. The batter should look glossy, smooth, and slightly thick, like a rich custard.
Bake and Cool with Precision
- Step 7 — Pour filling and smooth the top. Pour the cheesecake batter over the cooled crust, using a spatula to spread it evenly and gently tap the pan on the counter 2–3 times to release trapped air bubbles. This simple tap prevents small holes or tunnels in your finished slice. If you notice any crust crumbs floating on top, gently push them to the edge for a clean presentation.
- Step 8 — Bake until set but still slightly wobbly. Place the cheesecake in the center rack of your 350°F oven and bake for 50–60 minutes, rotating the pan halfway through for even browning. The cheesecake is done when the edges are lightly golden and puffed, but the center still jiggles slightly like Jell-O when gently shaken—this residual heat will finish cooking it as it cools. If the top browns too quickly, loosely tent with foil for the last 15 minutes.
- Step 9 — Cool slowly to prevent cracking. Turn off the oven, crack the door open slightly with a wooden spoon, and let the cheesecake rest inside for 1 full hour before removing it to a wire rack. This gradual temperature change prevents thermal shock, which is the #1 cause of surface cracks. After the hour, run a thin knife around the edge to loosen it from the pan (this also helps prevent cracking as it contracts).
Chill, Top, and Serve
- Step 10 — Chill thoroughly for perfect slices. Once the cheesecake reaches room temperature, cover it loosely with plastic wrap and refrigerate for at least 4 hours, though overnight chilling yields the cleanest slices and deepest flavor. Cold cheesecake firms up the structure, making it easier to cut neat portions without crumbling. Patience here transforms a good dessert into a restaurant-quality experience.
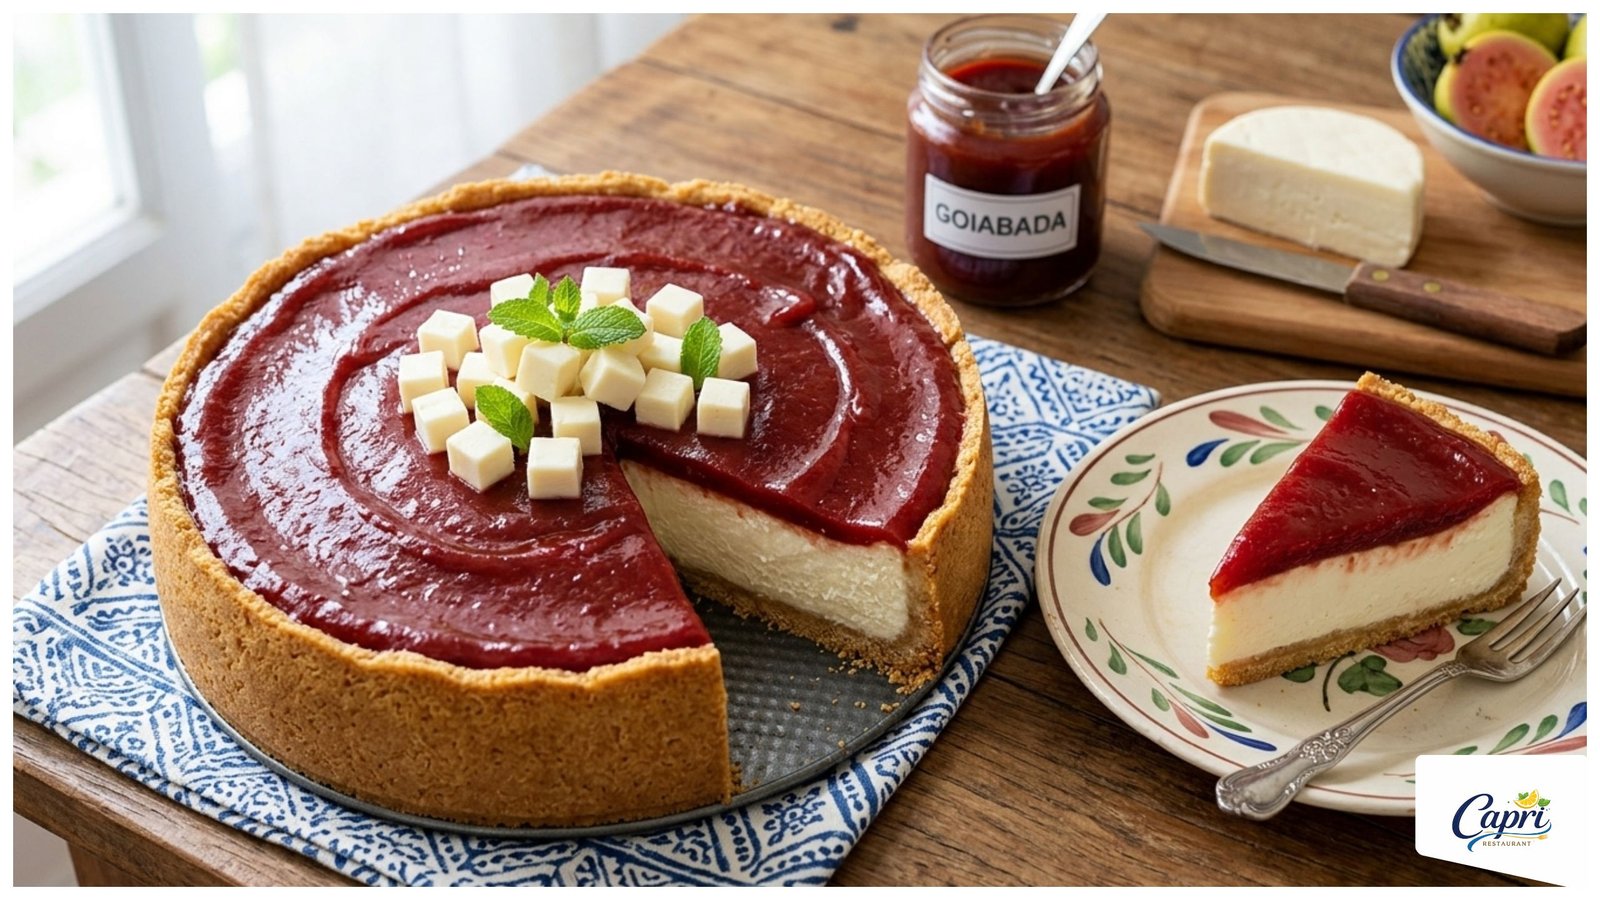
- Step 11 — Add toppings and serve chilled. Just before serving, top with fresh fruit and a few mint leaves for color and brightness, then release the springform ring and slice with a warm, damp knife for clean edges. Dip your knife in hot water and wipe dry between cuts to keep each slice pristine. Serve chilled for the best texture and flavor balance—this cheesecake shines when cold and creamy.
Video
Notes
• Most important technique: Room temperature ingredients are essential: Always bring cream cheese, eggs, and sour cream to room temperature before mixing—cold ingredients create lumps and uneven texture that no amount of beating can fix. Plan ahead: take them out of the fridge 1–2 hours before you start.
• Key ingredient note: Sweetened condensed milk is non-negotiable: This ingredient gives Brazilian cheesecake its signature silkiness and subtle caramelized sweetness. Do not substitute evaporated milk or regular milk + sugar—they won't provide the same thick, luxurious texture.
• Doneness cues: The "jiggle test" beats timer guesses: Your cheesecake is perfectly baked when the edges are set and lightly golden, but the center still wobbles gently like Jell-O when you nudge the pan. It will firm up completely during cooling—overbaking leads to dryness and cracks.
• Common mistake fix: Cracks on top? Prevent and repair: To prevent cracks, avoid overmixing, use room-temp ingredients, and cool the cheesecake slowly in the turned-off oven. If small cracks appear, cover them with fruit topping or a light dusting of powdered sugar—no one will notice.
• Flavor variations: (1) Tropical twist: Fold ½ cup pureed mango or passion fruit into the batter for a vibrant Brazilian flair; (2) Chocolate marble: Swirl ½ cup melted dark chocolate into half the batter before pouring; (3) Coffee-kissed: Add 1 tbsp instant espresso powder to the filling for a subtle mocha note.
• Make-ahead: Bake up to 2 days in advance: This cheesecake actually improves with time. Bake, cool, and chill it up to 48 hours before serving—just add fresh toppings right before plating to keep fruit bright and mint vibrant.
• Storage: Refrigerate in an airtight container: Store leftover cheesecake covered tightly with plastic wrap or in a cake carrier for up to 5 days. Keep it away from strong-smelling foods—cheesecake absorbs odors easily.
• Reheating: Serve cold only: Unlike some desserts, Brazilian cheesecake is meant to be enjoyed chilled. Do not microwave or warm—it will lose its structure and become greasy. Let slices sit at room temperature for 5–10 minutes before serving if you prefer a slightly softer texture.
• Freezing: Freeze slices for up to 1 month: Wrap individual slices tightly in plastic wrap, then foil, and freeze. Thaw overnight in the refrigerator before serving. Note: fresh fruit toppings don't freeze well—add those after thawing.
• Dietary adaptations: Gluten-free and nut-free friendly: Use gluten-free graham crackers for the crust to make this recipe gluten-free. It's naturally nut-free, but always check labels on vanilla extract and condensed milk if allergies are a concern.
• Serving suggestions: Pair with bright, acidic accompaniments: Balance the richness with tart berries, a drizzle of passion fruit coulis, or a scoop of lime sorbet. For beverage pairings, try a lightly sweet Moscato, Brazilian coffee, or chilled hibiscus tea.
• Scaling note: Double with caution—use two pans: This recipe doesn't scale well to a larger single pan (baking time becomes unpredictable). For crowds, make two separate cheesecakes in two 9-inch pans rather than doubling into one deep pan.